


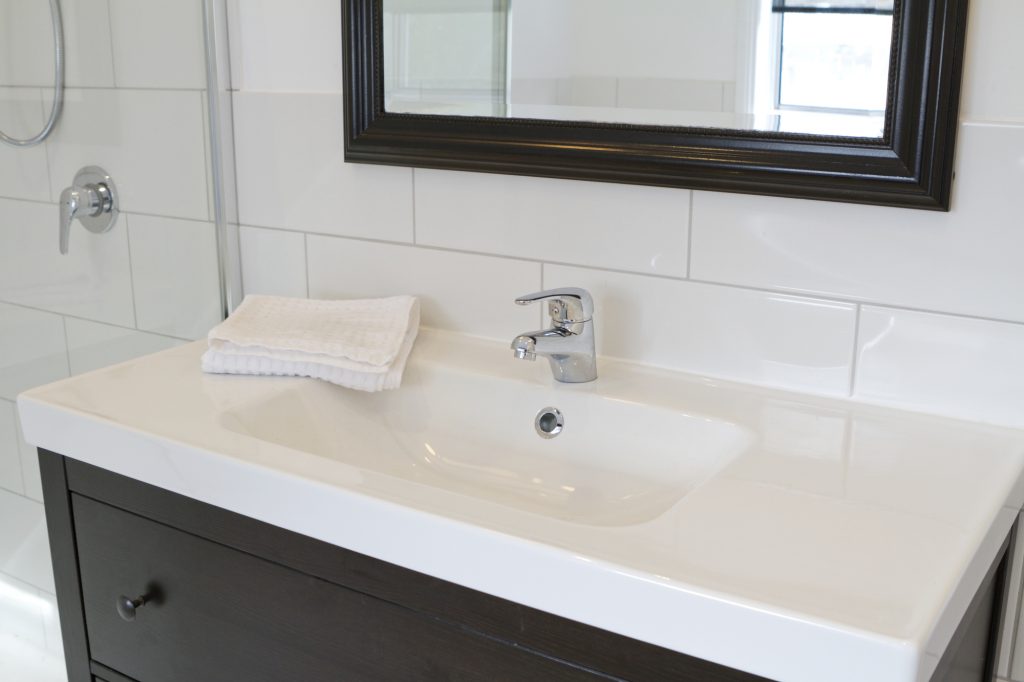
Installing Your New Vanity
Whether you’re doing a total bathroom makeover, or just adding flair with a brand new vanity, home installation can be tricky. Fear not! You are more than capable of handling this, and to help, here are some useful tips to keep in mind as you begin the installation process. Best of luck!

Tools you will likely need:
- Drill with screwdriver bits
- Electronic stud finder
- 24” to 48” level (or torpedo level)
- Wood shims
- Pencil
- Tape measure
- Wallboard screws=
- Silicone caulk/ sealant
- Caulk gun
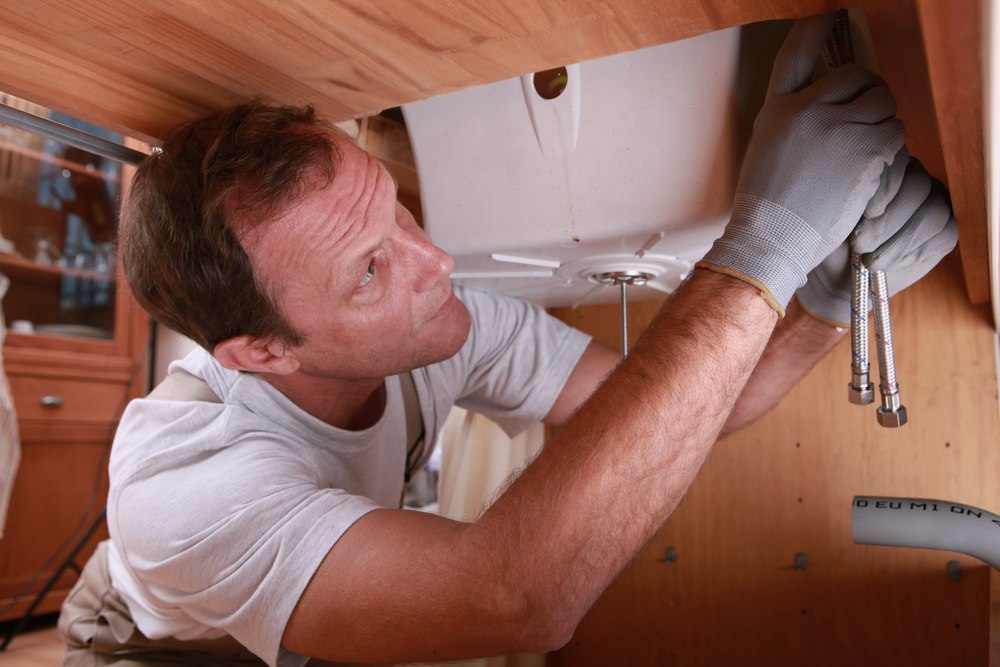
Before you start anything, remember to turn off the water valves under the sink. There will be water trapped in the piping, so get a big pot to place underneath to catch any that falls as you detach the pipes.
Hand soap and other bathroom products that go down your drain corrode your trap. This is the perfect time to replace your plumbing lines, and new pipes means a cleaner and easier installation.

Before you’ll be able to remove your old vanity, you’ll need to cut through any silicone caulk using a drywall knife or a putty knife. Unscrew any screws holding the vanity to the wall. Then gently pull out the vanity with ease, instead of any forceful tugging.
Remove the doors and drawers from the new vanity when installing. This prevents running the risk of damaging them when you are installing the unit.
To save time and energy, try installing the faucet first before the vanity. That way, you spend less time underneath the sink once it’s attached to the wall.
Your pipes will expand and shift over time. If it’s necessary to cut holes in your vanity for your pipes, it’s best to cut holes in your vanity about ¼ of an inch larger than the pipe to account for this and prevent any scraping or noises. Plus you’ll need room for shimming at the end to get that oh so perfect fit.
Use a stud finder to find the studs in your wall before you start screwing. This will prevent any drilling accidents and keep everything nice and fixed in place. If you’re replacing an old vanity, mark where the old screws were as they probably coincide with the placement of your studs (studs are typically 16 inches center-to-center).

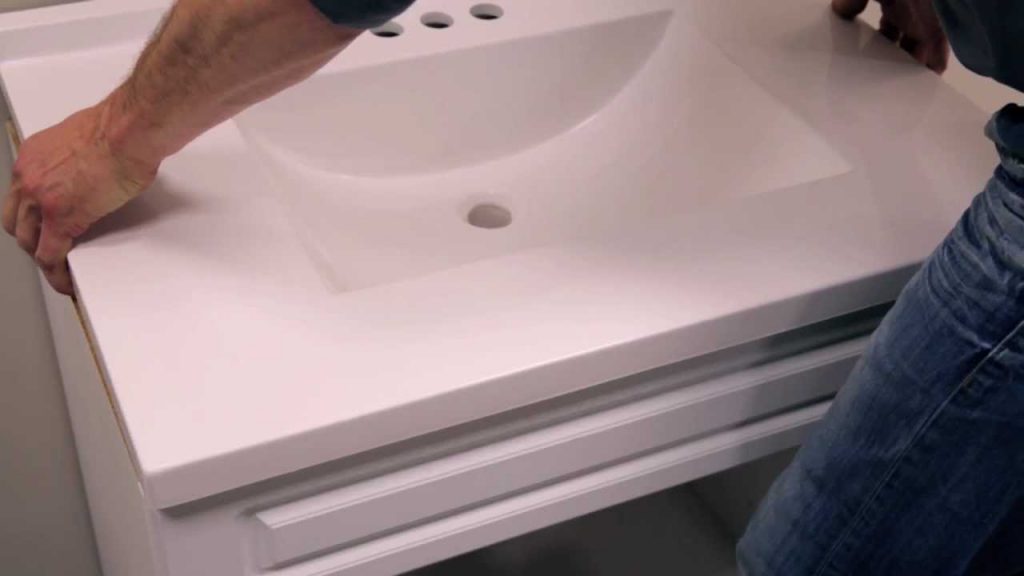
Mark the height of the top of the vanity base cabinet on the back wall (as well as the side wall if you have a corner installation). With the vanity in position, use a level to ensure the vanity is level and plumb both side-to-side and front-to-back before fastening it to the wall. If it’s not level, use wooden shims to level it out.
Drill a pilot hole through the vanity back into a stud. For a tile wall, first use a tile bit. Once you’re through the tile, use a wood bit to drill into the stud. For holes that are not in line with studs, use wall anchors made for your wall type — drywall, plaster, or tile. Secure the cabinet with screws.
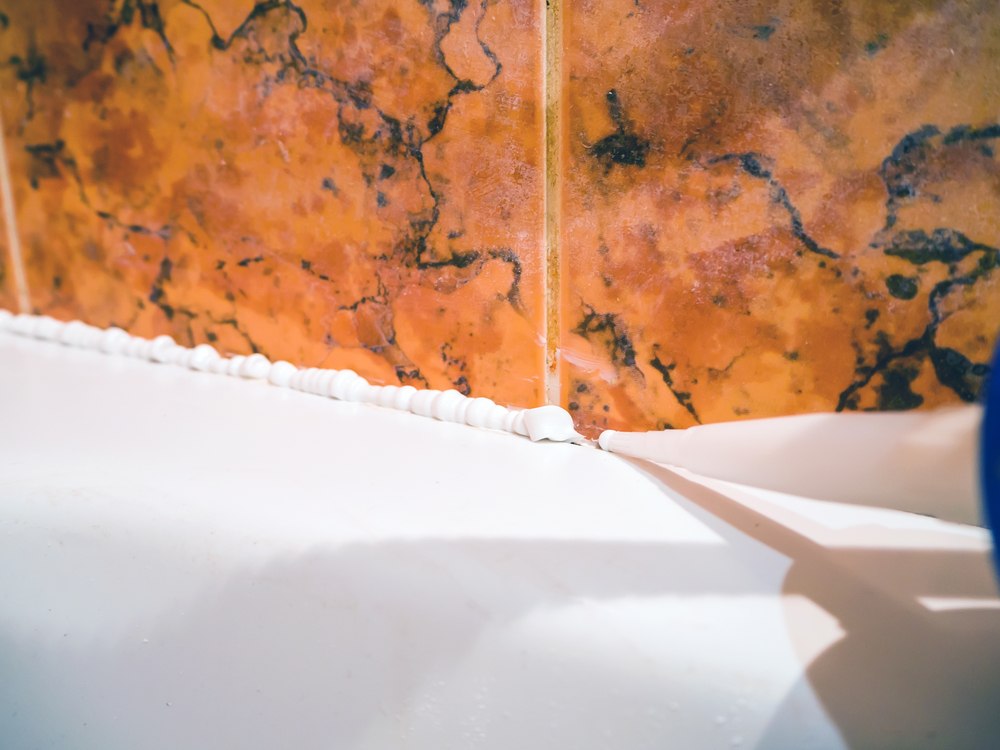
Place a small amount of silicone sealant/caulk on the bottom surface of the countertop at each corner, where it will rest on the cabinet. It is not usually necessary to anchor the countertop to the cabinet in any other way since the silicone caulk will bond it to the cabinet. Some vanity kits, though, come with brackets that screw to the bottom of the countertop from beneath the sink. With the help of another person, carefully set the sink top on the vanity, making sure the plumbing is lined up. Let the adhesive cure.
If your vanity came with a separate backsplash, now is the time to install it. Apply a bead of silicone sealant/ caulk in a serpentine pattern on the back of the backsplash. Press the backsplash firmly into place against the wall. Install a bead of silicone caulk along the cracks between the backsplash and the wall, and also along the crack between the bottom of the backsplash and the countertop.
After finishing the installation, open your water valves back up one at a time, slowly, to assess for any leaks as you begin to run water through your new piping. If you do find a leak, use tape right on the threads or tighten the valves a bit, but not too much! It’s a good seal that stops leaks, not over tightening.
Step back and enjoy your new vanity! Shop Kitchen & Bath Authority for all your sink, shower, and other kitchen and bathroom fixture needs.


Appreciate the recommendation. Will try it out.
Excellent article. I’m facing some of these issues as
well..
Very nice post. I just stumbled upon your blog and wanted to say that I’ve really enjoyed browsing your blog posts. In any case I’ll be subscribing to your feed and I hope you write again soon!
Woah! I’m really digging the template/theme of this blog.
It’s simple, yet effective. A lot of times it’s very difficult to get that “perfect balance” between user friendliness and visual appearance.
I must say you have done a very good job with this.
In addition, the blog loads extremely fast for me on Chrome.
Excellent Blog!
Thanks a bunch for sharing this with all of us you actually recognise what you’re talking
about! Bookmarked. Please also consult with my site =). We may have a link trade agreement among us
There’s certainly a lot to know about this topic. I like all the points you made.
I got this site from my buddy who shared with me on the topic of this web site and
now this time I am visiting this website and reading
very informative content here.
I think this is one of the most significant information for me.
And i’m glad reading your article. But should remark on few general things,
The site style is wonderful, the articles is really excellent : D.
Good job, cheers
Hello it’s me, I am also visiting this web page on a regular basis,
this site is actually good and the users are really sharing pleasant thoughts.
This page truly has all the info I wanted concerning this subject and didn’t know who to ask.
This design is steller! You obviously know how to keep a reader amused.
Between your wit and your videos, I was almost moved to start my own blog (well, almost…HaHa!) Excellent
job. I really enjoyed what you had to say, and more than that, how
you presented it. Too cool!