$126.00
$168.00
Low stock, please call
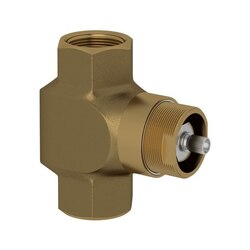
ROHL R1040R ITALIAN BATH UNIVERSAL 3/4 INCH VOLUME CONTROL ROUGH VALVE
Low stock, please call
$149.00
$198.00
Low stock, please call
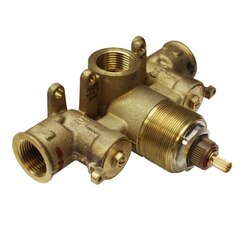
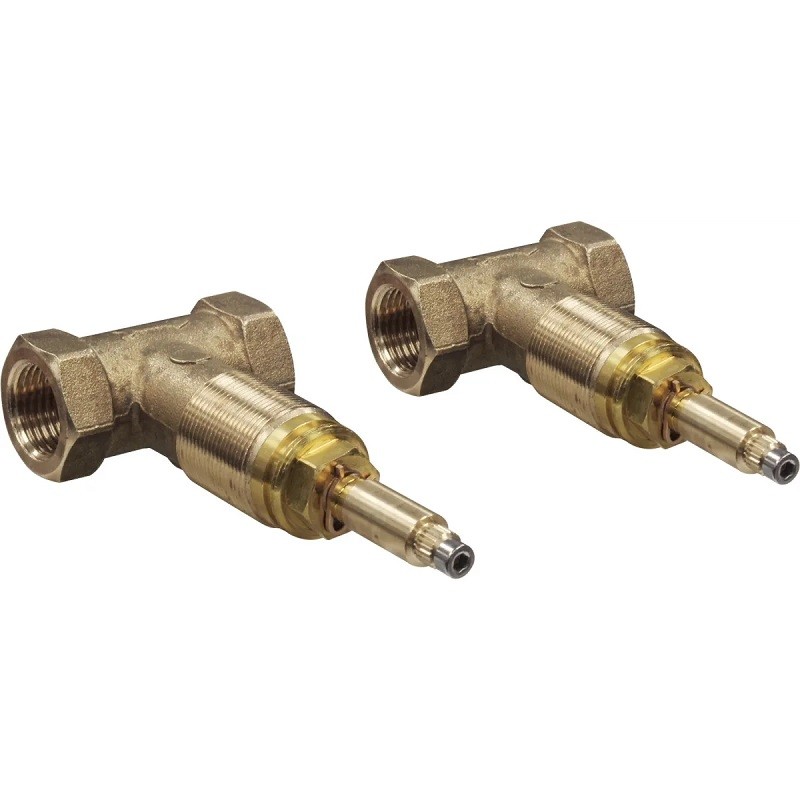
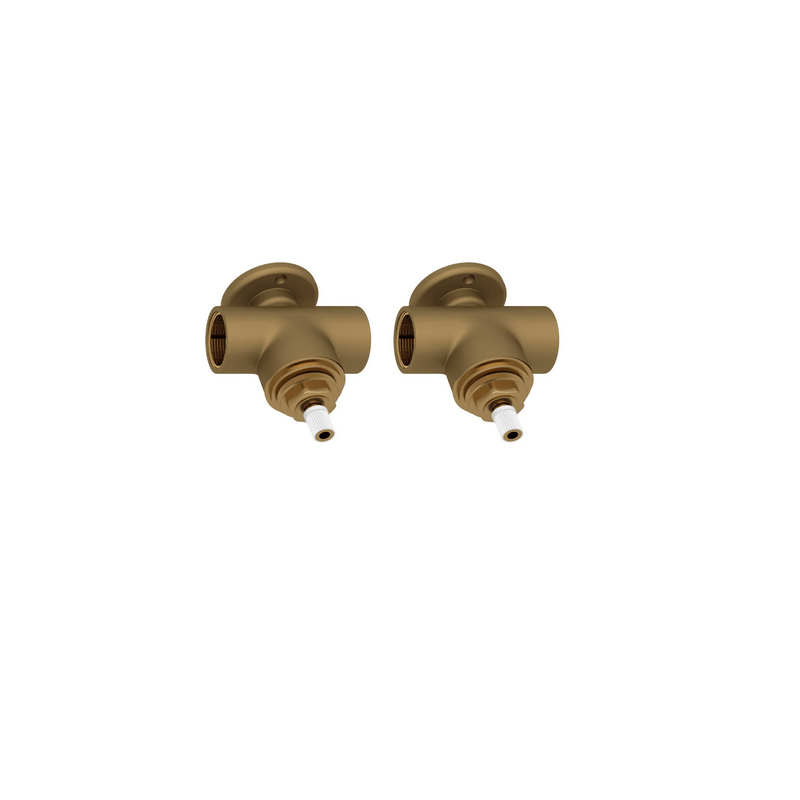
ROHL A5039X ITALIAN BATH PAIR 1/2 INCH VALVES ROUGHS FOR WALL MOUNT CROSS SET
Low stock, please call
$126.00
$168.00
Low stock, please call
ROHL R1041R SHOWER COLLECTION 3/4 INCH VOLUME CONTROL ROUGH VALVE
Low stock, please call
$246.00
$328.00
Low stock, please call
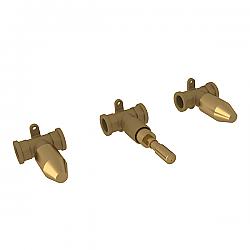
ROHL R1062BO ITALIAN BATH 4-PORT, 3-WAY DEDICATED DIVERTER ROUGH VALVE
Low stock, please call
$126.00
$168.00
Low stock, please call
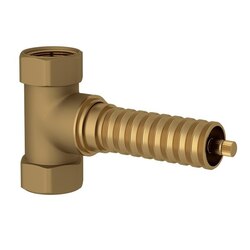
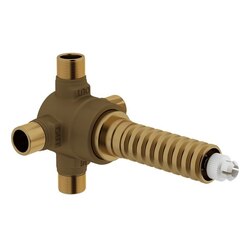
ROHL R51 1/2 INCH PRESSURE BALANCE ROUGH-IN VALVE WITH 1 FUNCTION
Low stock, please call

$494.00
$658.00
Low stock, please call
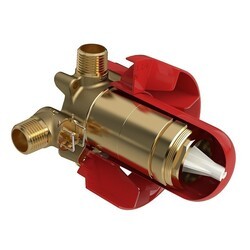
ROHL RH0506F1 ROUGH-IN VALVE FOR FLOOR MOUNTED PILLAR TUB FILLER
Low stock, please call
$332.00
$442.00
Low stock, please call
ROHL U.3231R PERRIN & ROWE 3/4 ROUGH VALVE FOR WALL-MOUNT CROSS TUB FILLER
Low stock, please call
$111.00
$148.00
Low stock, please call
ROHL ZA33BO COUNTRY BATH 3/4 INCH WALL VOLUME CONTROL ROUGH VALVE
Low stock, please call


$274.00
$365.00
Low stock, please call
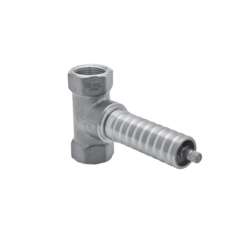
ROHL ZZ96775004 WAVE ROUGH ONLY FOR WA24 WALL MOUNT TUB SPOUT
Low stock, please call

$104.00
$138.00
Low stock, please call
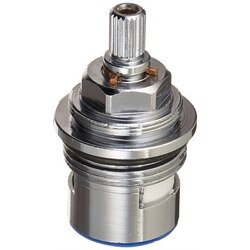
ROHL ZZ98441004 QUARTILE ROUGH FOR ZA219 WALL MOUNT TUB SPOUT
Low stock, please call

Kitchen & Bath Authority Reviews
We consistently strive to offer our customers the best possible online experience - But don't take our word for it, here are some real, verified reviews that our past customers have left about KBAuthority.com !
We consistently strive to offer our customers the best possible online experience - But don't take our word for it, here are some real, verified reviews that our past customers have left about KBAuthority.com !